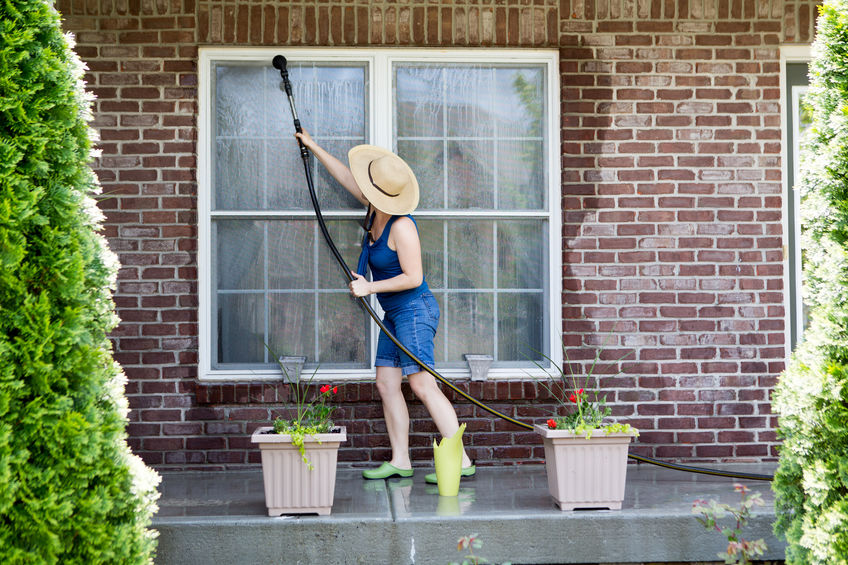
 The idea of window cleaning as a DIY project is a very feasible one. It rids you of the need to hire professionals who often charge very high and relatively exorbitant prices. Window cleaning is very easy as long as you have tips and a categorical step-by-step instruction guide. This article gives you the best tips and tricks to help you do window cleaning by yourself. The information provided will help you get prepared for your next DIY window cleaning project.
What to Do Before Starting Your Window Cleaning Project?
You should consider the weather conditions before you embark on this project. The most preferable weather is just an overcast day, as it ensures the cleaner you are using does not dry too fast in a manner that can cause streaking. However, if the weather conditions do not become suitable and conducive, you can always start the cleaning on the shady parts of the house.
Another thing you should do is dry wiping. This is done in order to remove any debris just prior to the breaking of your cleaning solution. You can remove dirt on the frames of the window using a brush. You can also vacuum it to eliminate the dirt and debris. Doing this is important because it helps ensure that no mud spawn from the combination of dirt and the cleaner that you are using.
After dry wiping, the next thing you have to do is to create the cleaning solution. This step entails mixing two gallons of warm water with drops of dish cleaner. It is essential to remember that you do not have to spend on any expensive cleaning products. Another alternative is to use vinegar mixed with hot water. This is the perfect embodiment of fully opting and adhering to the DIY route. A half cup of vinegar should be mixed with two cups of water and another quarter cup of rubbing alcohol of about 70% concentration. This mix requires ample care to avoid drenching. It is also quite important to ensure that the vinegar solution does not encounter the frame of the window.
Cleaning Your Windows
To start the cleaning process, put the cleaning solution into a spray bottle and spray it on the windows. Allow it to soak for around 30 seconds and then wipe it off with a sponge. You should be super generous during this step to make sure that you spray enough cleaner in order to dissolve all the dirt. This ensures that everything is properly wiped off. Sometimes the screen of the window might appear very grimy hence; you ought to remove and wash it with hot water and then rinse and dry it before putting it back in place.
The next thing you have to do is mark a dry line. This is done with the use of a dry towel. You can use a finger to make an appropriate line on the top of your window thus making sure that you have a perfect line to guide you accordingly. When done with this step, go ahead and dry the windows using a squeegee. You should do this from top to bottom and in a very straight line for the best possible results. The dry line you create should guide you accordingly as you dry across the window. You should wipe the blade using a lint free cloth. This process should be repeated until the whole window is clean and sparkling. It is also vital to know that just a single pull ought to suffice in most circumstances.
When done with these steps, the next thing you have to clean is the window frames. This is done with the use of water or just non-ammoniated cleaner. You should wipe the frames clean with a piece of damp cloth and then immediately rinse with a dry and clean cloth.
It is good to note that the contents of the spray bottle should be perfectly labeled, especially if you have children or any pets at home. This is because safety is paramount especially in DIY projects, which you are not well versed with or totally accustomed to.
From the foregoing, it is clear that window cleaning can be perfectly done as a DIY project if you follow the steps provided above. However, cleaning your windows might appear to be a very tedious chore. It is therefore crucial for you to get it perfectly right on the first instance to prevent any scenarios of having to redo the project.
